Fall 2014 (Volume 24, Number 3)
Tips For Getting Your Best Photographs
By Fred Doris, MD
Download PDF
Backyard Photography
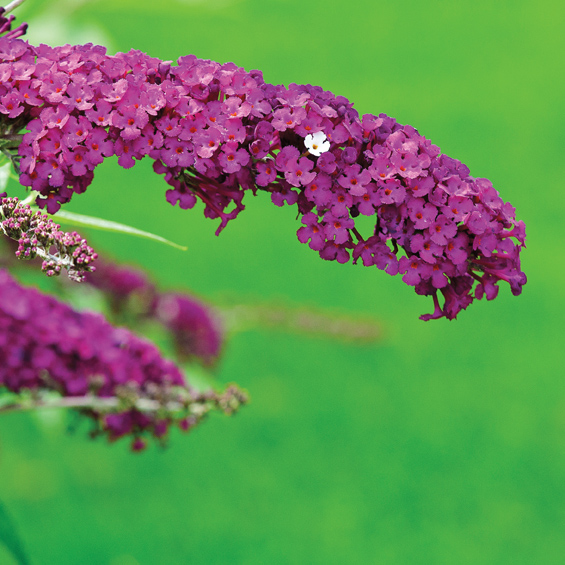
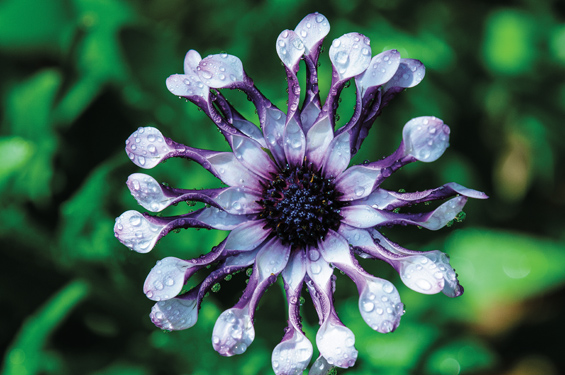
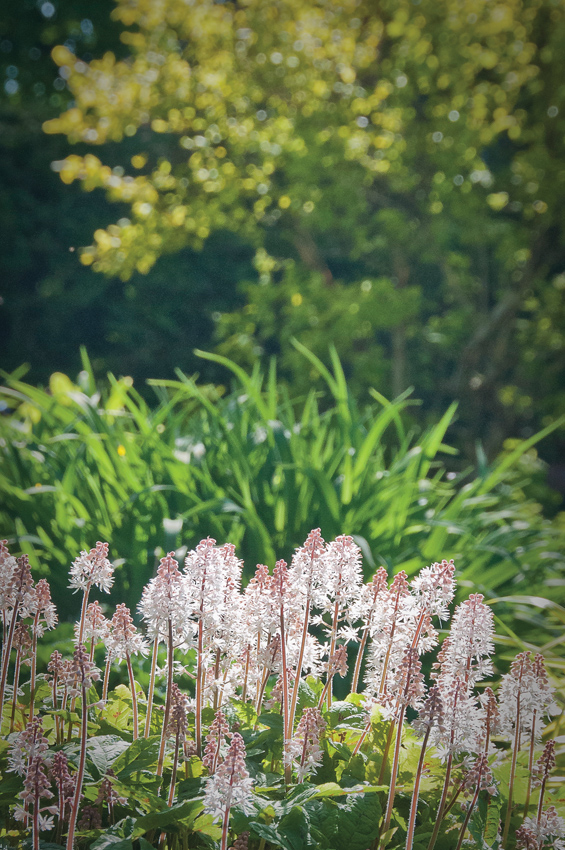
The advantages of backyard photography are plentiful and include ready accessibility, little gear, and never having to say “cheese”. Aperture priority and selective focus to blur out background clutter is important here; this is likewise applicable to other photographic subjects.
• Compact cameras are almost the equal of fancy SLRs and macro lenses in closeup photography! Although getting in closer for details is advisable, occasionally a bigger picture captures the right feeling.
• Avoid the harsh midday sun. Try pictures just before sunset or within an hour or two of sunrise.
• Try a different viewpoint. Keep compositions simple to emphasize flower colour and texture.
• A little garden tidying up and a spritz from a spray bottle go a long way to help the final results.
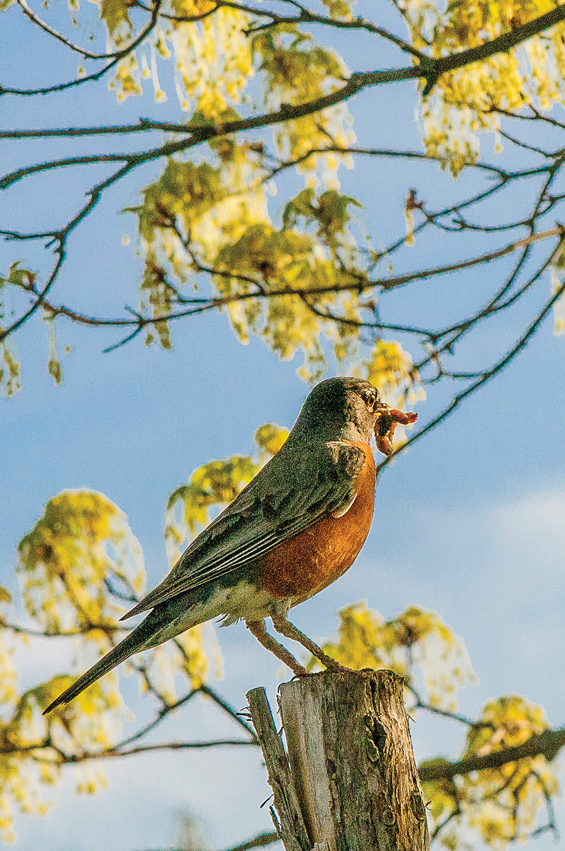
• Although it breaks my gardening heart to say so, there are subjects in your backyard other than flowers.
 
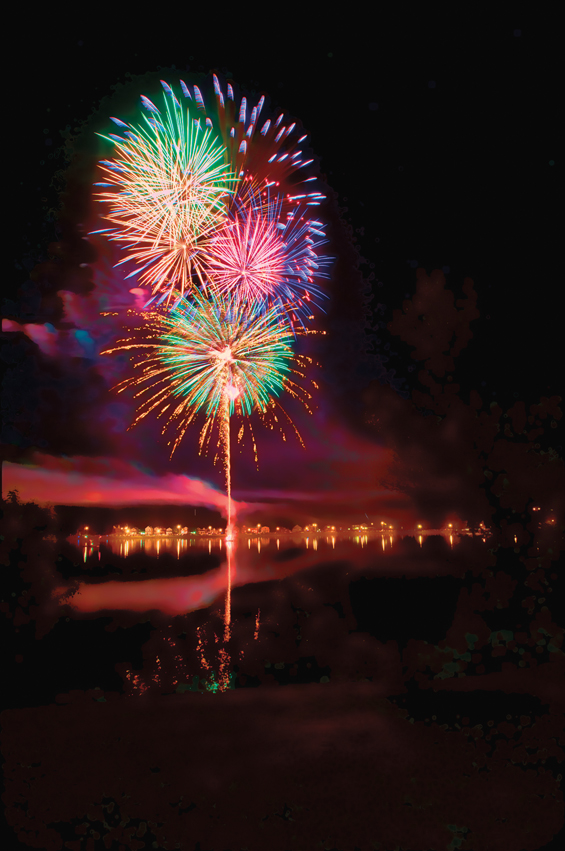
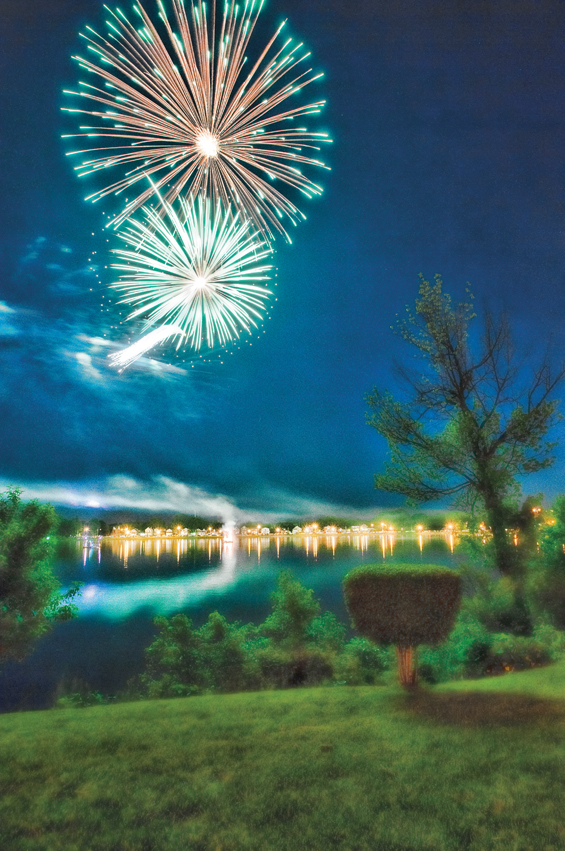
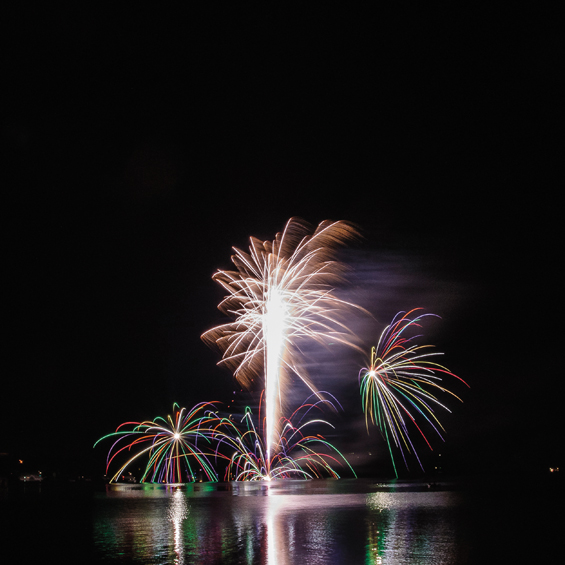
Firework Photography
Photographing fireworks is surprisingly easy and enjoyable. You do not even have
to stare through the viewfinder as you are shooting, as long as you have a cable release. A sturdy tripod is the only absolutely necessary piece of equipment. A single-lens reflex (SLR) camera works best, but most compact cameras with a few manual controls would be up for the task. To get going:
1. Location, location. Foreground interest is helpful; try to get away from or above people in front of the camera, though. Setup camera in vertical orientation on tripod.
2. Use a wide-angle lens to capture a big area of sky. You cannot move the camera during the exposure.
3. Set to shutter mode and set speed to five to eight seconds to capture rocket trails and multiple bursts. The camera will likely automatically adjust to mid-range aperture (f8-11). Use a cable release to activate shutter, or alternatively, make use of the camera’s two-second self-timer. Repeatedly fire these same long duration exposures.
4. Set manual focus to infinity. Turn off auto-focus, if possible. Ensure there is no flash, of course!
5. Set ISO as low as it will go: 100-200.
6. Bring survival stuff: chair, warmer clothes, LED light (to adjust
camera settings), bug spray, and company are all recommended.
7. That is it. Enjoy!
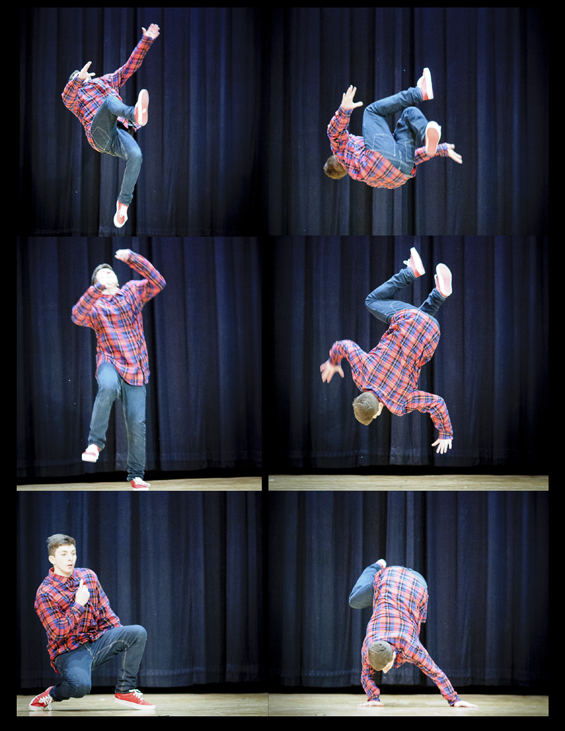
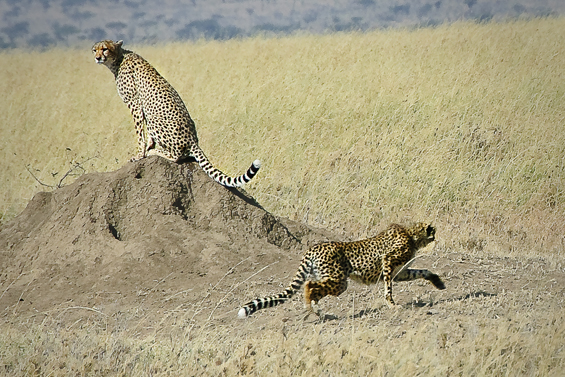
Action Photography
Knowing how to photograph movement lifts your pictures from the staid posed portraits, landscapes, and architectural photographs that fill our hard drives. This does not mean limiting your shooting to sporting or dancing endeavours, but it does mean becoming very familiar with your camera settings. While compact cameras can do a decent job, especially in bright sunlight, this is where SLRs and pro-photographers excel. You will not find a hummingbird frozen in flight among this amateur’s photos, but here are some thoughts.
• Get to know how to set shutter speed, continuous drive mode and or sports
mode, and know about autofocus.
• Give the subject space to move.
• Anticipate action and shoot in short bursts.
• Most human movement can be captured at 1/250 s or so. That hummingbird, maybe 1/2000 s.
• Aim to capture the face by shooting from a low position.
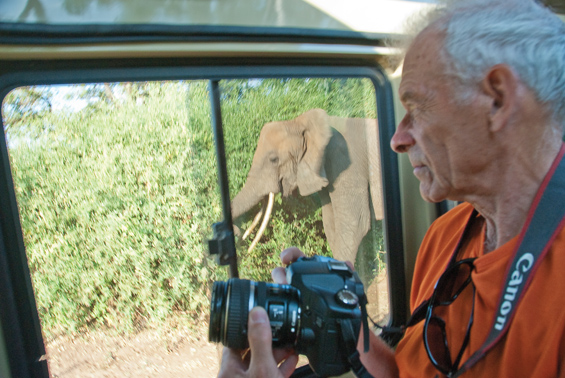
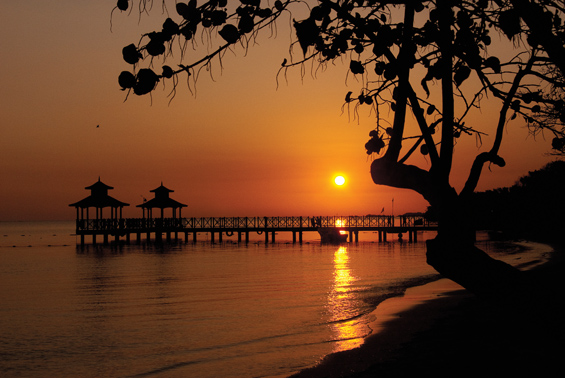
Travel Photography
Instructions go out the window for our travel pictures and personal taste rules. Fortunately, there are numerous subjects so that we do not arrive home with hundreds of building or beach shots. Think about a trip theme: Transportation? People? Animals? Colourful doors?
Preparation: Have a camera with you all the time. Digital means: keep shooting! Be ready for the moment.
Timing: Get out early, or stay out late.
Location: Finally, do you go close for detail or wide for a sweeping panorama?

|